In large organizations, it's not uncommon for employees to struggle to find and connect with their coworkers. Having a comprehensive employee directory in SharePoint can streamline team collaboration and help employees find the right contacts within the organization. An employee directory can display essential information—like job titles, departments, and contact details—all in one place, making it easier to locate colleagues and connect across teams.
In this guide, we’ll walk you through creating an employee directory in SharePoint that is easily accessible, searchable, and up-to-date.
Top benefits of an employee directory?
- Improve Collaboration: Employees can more easily find and connect with subject matter experts, cross-functional team members, and colleagues with complementary skills.
- Enhance Communication: The directory provides a centralized place for employees to access up-to-date contact information for their coworkers.
- Increase Productivity: By reducing the time and effort required to find and connect with the right people, an employee directory streamlines various workplace tasks and workflows.
- Support Onboarding: New hires can quickly familiarize themselves with the organizational structure and get to know their colleagues.
Building Your SharePoint Employee Directory
Step 1: Plan Your Directory Structure
Before diving into the technical setup, determine what information you want to include:
- Basic Information: Name, title, department, office location
- Contact Details: Email, phone number, Microsoft Teams contact
- Professional Information: Skills, projects, expertise
- Organizational Details: Reporting structure, team members
- Optional Fields: Time zone, languages spoken, interests
Step 2: Set Up the SharePoint List
1. Navigate to Your SharePoint Site: Start by going to the SharePoint site where you want to create the directory.
2. Create a New List:
- Select Site contents from the left hand side
- Click New > List

3. Choose Blank list and give your list a name like “Employee Directory.” Optionally, you can add a description, customize the color and icon, and then select Create.
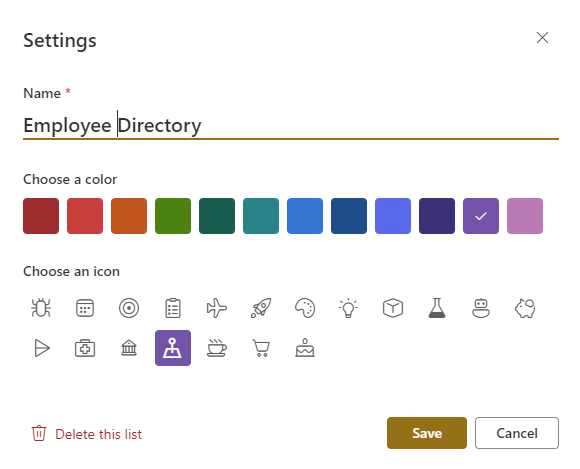
4. On your list in the header, Click on "Add column" to add the necessary fields for your employee directory.
5. Add columns for key employee information you want displayed:
- First Name (Single line of text)
- Last Name (Single line of text)
- Job Title (Single line of text)
- Anniversary Date (Date and time)
- Department (Choice)
- Location (Choice)
- Email (Single line of text)
- Fax (Single line of text)
- Phone (Single line of text)
- Profile Picture (Image)
- Skills (Multiple lines of text)
- Manager (Person)
- Team Members (Person - multiple selection)
- Set Permissions: Ensure the list permissions are set so all employees can view it. However, restrict editing rights to HR or authorized personnel to keep information secure and accurate.
Pro tip: Use column formatting to enhance the visual presentation of your data. For example, you can format the email column to display as a clickable mailto link.
Step 3: Populate the Directory with Employee Data
Manual Entry: You can start adding employees one by one by selecting New in the directory list and entering their information.

Bulk Upload (Optional): If you have an existing list of employees in a spreadsheet, you can import the data into your SharePoint list:
- In SharePoint, go to your list, select Edit in grid view.
- Copy data from your spreadsheet and paste it directly into the SharePoint list columns. Make sure the columns align to avoid data misplacement.
Power Automate (Optional): If you have a very large list of data you can use Power Automate to do this
How to Import Excel Data to SharePoint List using Power Automate / MS Flow
Step 4: Customize the Directory View for Better Usability
SharePoint allows for flexible customization of list views to make it easier to find specific employees:
- Use the Default List View: The default list view is great for getting a view of the most important information at a glance.
-
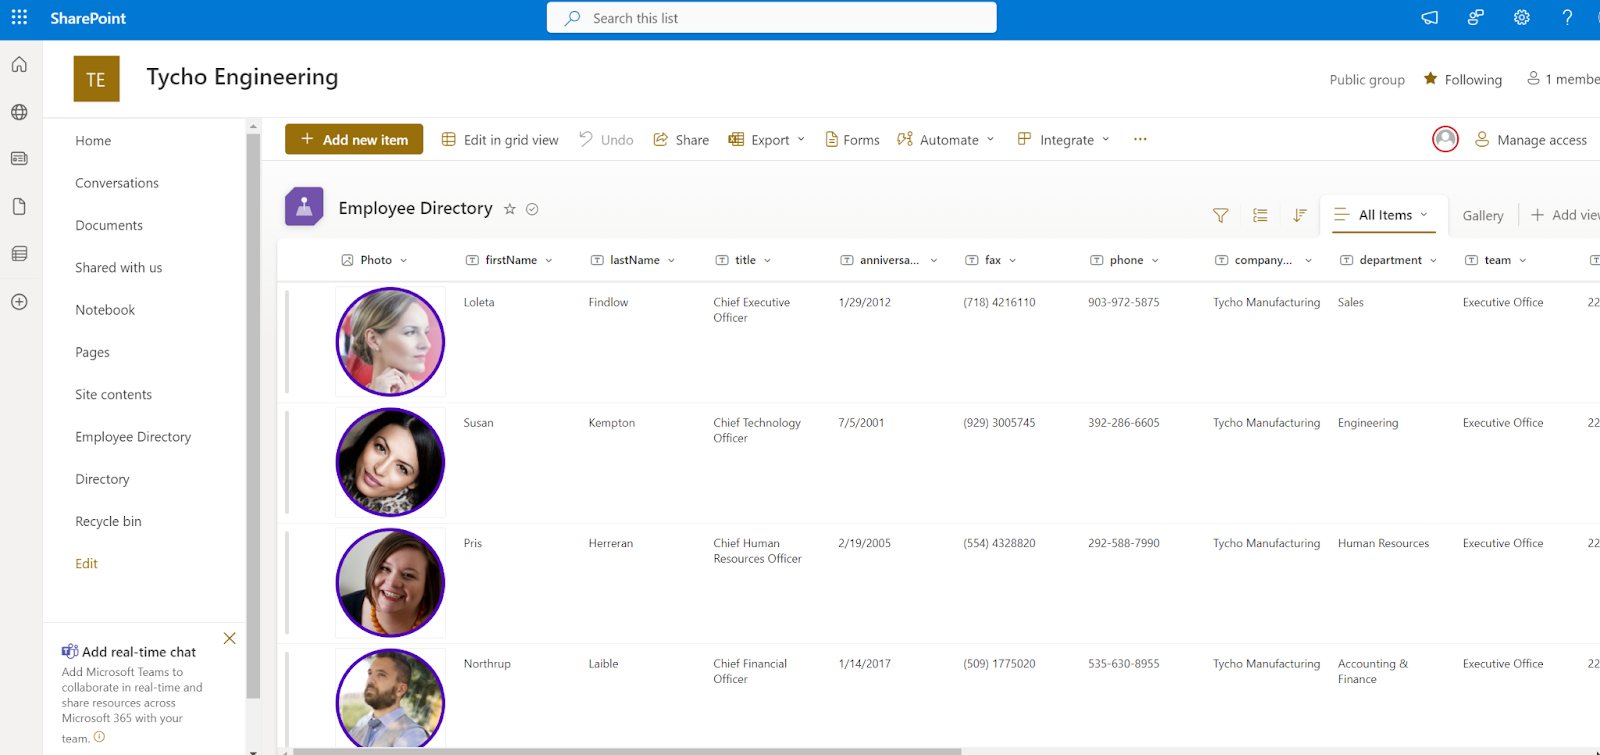
- Create Custom Views: Use filters to create specific views, such as by department or location. For example:
- In your list, click All Items > Create new view.
- Show/hide certain attributes like phone, city, etc. and determine the order on the columns.
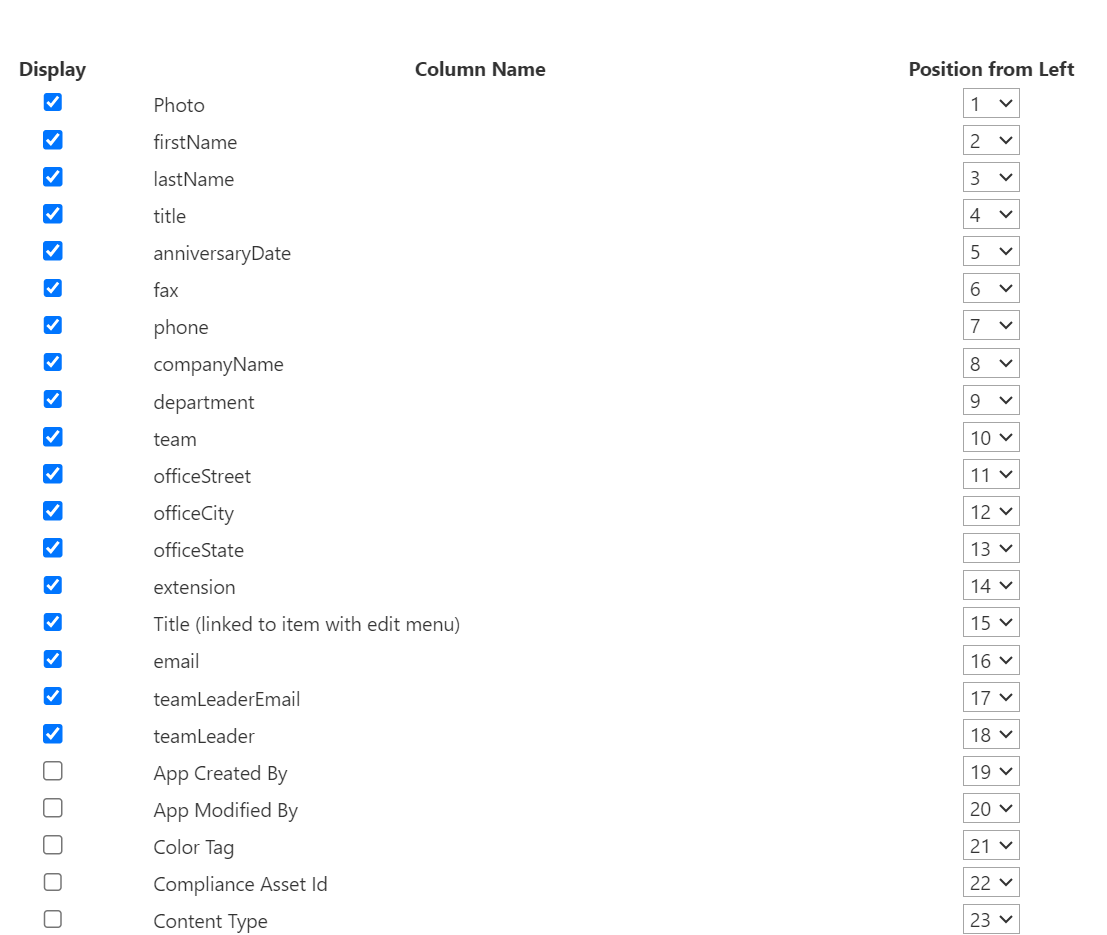
- Add a Searchable Column: SharePoint lists have built-in search features. Adding a Search box at the top of your employee directory makes it easy to look up employees by name or other attributes.
- Format List Items (Optional): Customize how information appears by changing text colors, font styles, or layout to improve readability. Select Format current view to access these options.
Step 5: Add the Directory to Your SharePoint Home Page
1. Embed the List on Your Homepage:
- Go to the SharePoint page you want as the directory’s main access point.
- Click Edit and select + to add a new web part.
- Choose the List web part, and select your employee directory list to display it on the page.

2. Add Quick Filters for Usability: Use the Filter pane in the List web part to allow quick filtering by department, location, or other important criteria.
Step 6: Maintain and Update the Directory
To keep your directory effective, ensure regular updates. Set up a process for HR or an assigned team member to:
- Add New Employees as they join.
- Update Roles or Departments if there are organizational changes.
- Remove Exited Employees to keep the list accurate and secure.
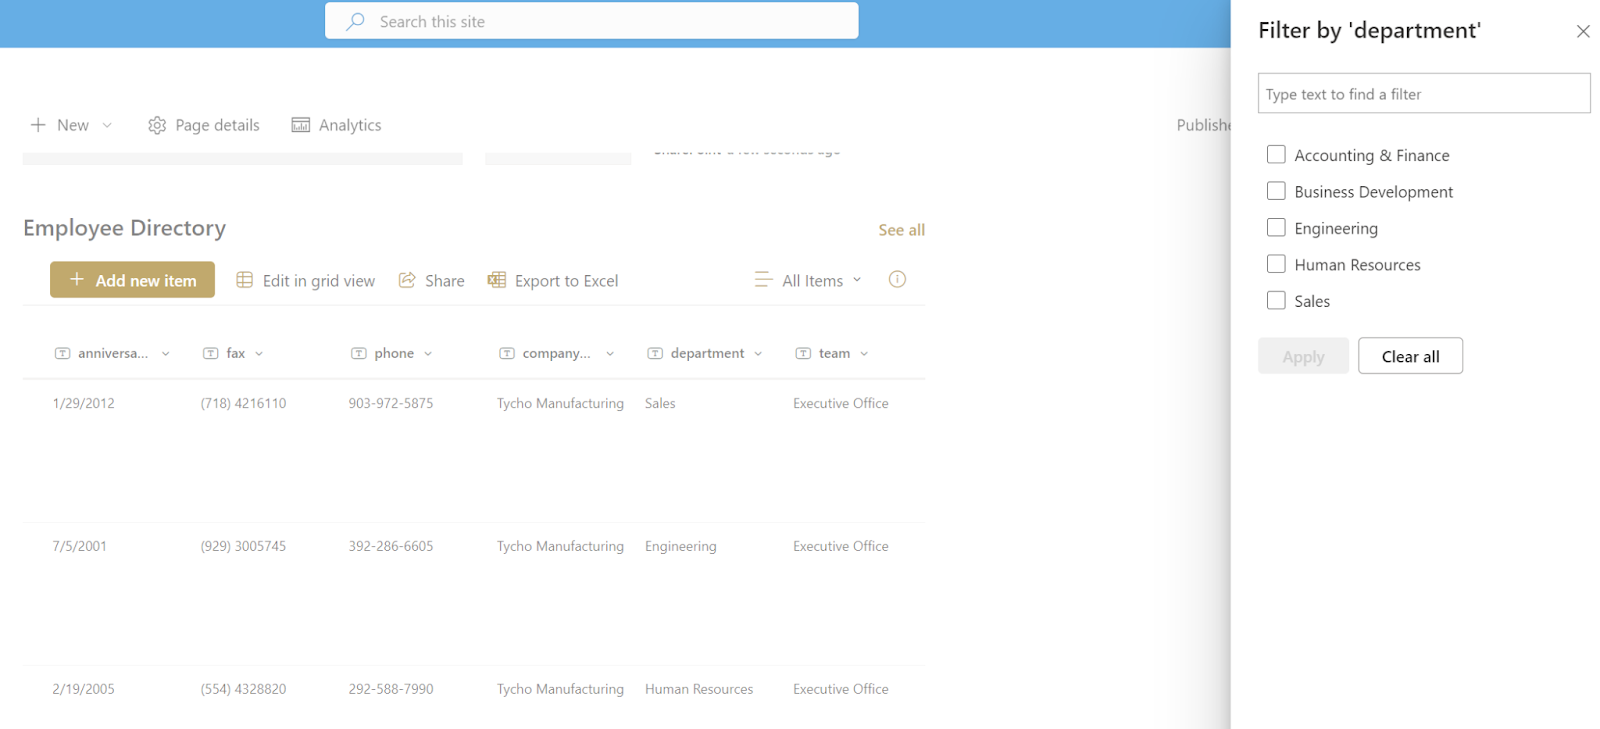
1. Once you’re satisfied with the layout and functionality, click Publish to make the employee directory live and accessible to everyone in your organization.
How Sift Can Create an Automated Directory
While creating a directory manually from Sharepiont is convenient, it may not be sustainable. Think about having to manually do all these updates whenever there is a change. This can significantly increase maintenance time and, more importantly, lead to outdated information, making the directory less reliable for your coworkers.
Syncing Sift with Azure Active Directory/Entra streamlines the process of maintaining an accurate, automated org chart. With just a few steps, your org chart will stay current, reflecting changes from Azure regularly. Here’s how it typically works:
- Integration Setup: When setting up, Sift is granted access to the organization’s AAD instance. This access usually requires permissions to read directory data (like user profiles and organizational structure).
- Data Sync: Sift pulls relevant data—such as user names, job titles, departments, locations, and reporting structure. This sync can be set up to happen regularly, ensuring the directory stays updated as changes are made in AAD.
- Mapping and Customization: Sift maps fields from AAD to fields within its own system. It also allows customization so that organizations can choose which AAD attributes they want to include or display.
- Directory Creation: With this data, Sift builds a comprehensive directory within its platform. Users can search for colleagues, view profiles, and explore the organizational chart, making it easy to navigate the organization.
- Automatic Updates: Because of the live sync, changes in AAD (like new hires or role changes) automatically reflect in Sift’s directory without needing manual updates, keeping the directory accurate and up-to-date.
We went over specifics for creating an org chart from Azure Active Directory and the process for creating the directory is exactly the same.
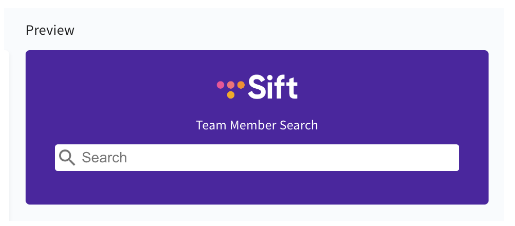
Sift also allows you to embed it’s search widget inside of SharePoint. The example widget below will let users inside of SharePoint perform a search and land on Sift’s search results page of the team member you are trying to find.
Start your 14 Day Free Trial and enjoy the benefits of an automatically updated directory.
